Thursday, 17 December 2015

Movement - Work Diary

For my movement photoshoot, I decided to focus on using long exposures in order to capture lots of motion blur. To use these long exposures, I needed a very narrow aperture, so i stuck at f22 or narrower for the entirety of the shoot. This the depth of field was very wide in the images taken.

This is my favourite image from my movement photoshoot.


I like this partly because of the framing. I feel that the car in the image is positioned well; it looks like it fits with the rule of thirds composition rule, therefore, your attention is drawn towards it. The fact there are not any other cars apart from far off in the background also helps in drawing your attention to the car in the foreground. Additionally, I felt that there was the right amount of blurring on the moving car; I used an exposure of only a couple of seconds, so that the car would remain recognisable but will be blurred enough to create an effect of fast motion.

This is my least favourite photo from my movement.

While this does show motion, I feel that there is not a lot of interesting motion happening in this photo. I
also don't like how much the background has moved, which was due to camera shake. If I had used a shorter exposure, or put the camera on a tripod, there would be no camera shake, or at least a lot less. 
I also feel that the person who was waving the light could have tried to create a more recognisable shape, as that would draw the viewer to the image more than the shape that was drawn.

If I were to shoot movement again, I would bring a tripod when i'm going out to shoot, as that would have helped combat camera shake. I would also try and find more candid forms of motion, that were not directed to move for the picture e.g. people walking through the town, cycling and vehicles.


Movement - Straight Images


Movement - Contact Sheet


Wednesday, 16 December 2015

Depth - Work Diary

For Depth, I took photos on two separate days, on one day taking some photos in the studio as well as photos in public on both days. During these photoshoots, I focused on capturing narrow depth of field, and changing where the focus points were.

This photo is my favourite of the photos I took out in public.
I like this photo because it clearly presents depth through a narrow depth of field. This image also presents both saturated colours and muted colours, creating a contrast in colours as well as a contrast between dark and light tones. The contents of the photo present a contrast in moods, as the flower represents summer, whereas, in the background, there is a brick building that creates a contrasting mood to the flower. The focus point has been set well, as only the branch with the flower on it is in focus, and all of the bushes behind it are out of focus.

This is my least favourite of the photos I took out in public.

 
 Although this image shows depth through a narrow depth of field, there are other aspects of this photo that I don't like. I feel like it could be framed badly; some of the bench is not in the frame, and it is not quite in the center of the image. There is also a person in shot, who has half of his body out of the shot. Finally, I feel that the background was not very interesting, and should have been the part of the image that was out of focus, as I feel the wooden bench would have created an interesting texture if it was in focus.

Below is my favourite photo from my studio photos.

I like this because it displays a subtle but clear use of depth. While it doesn't create a dramatic narrow depth of field , you can see that the camera is sharply in focus, while his face is only slightly out of focus, therefore, attention is drawn to the camera. Also, with the focus point being at the front of the image, we are drawn to the first thing we see. I also like the way this photo has been framed; the subject is neatly placed into the middle of the frame.

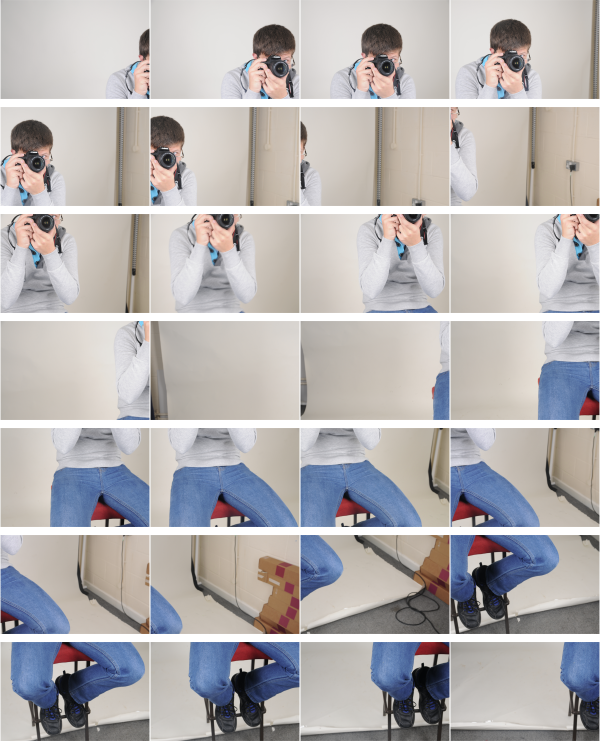
This image is my least favourite from my studio depth shoot

I feel like the subject held the camera to closely to his face, therefore, both the camera in his face are in focus, and there is little depth shown. I feel that there is also a lack of other formal elements used in an interesting way, meaning the image just shows a very small amount of depth between the camera and the subject. This photo may have benefitted from being taken closer to the subject to further defocus the background, and being taken from a different viewpoint would have given it a difference from the rest of my studio depth photos.

If I were to shoot depth again, I would try and look at taking photos in a certain place, but changing where the focus point is and what is in focus, which is something I only touched on lightly. I would also bring in some props for the studio, and try and get some depth images in there from different viewpoints.


Thursday, 10 December 2015

Portraiture -

I am going to being going through the process of removing blemishes on somebody's face.
I opened my image, and the first thing I did was converted it to CMYK colour.
This is under the image tab.
Then, you go to channels and select the yellow channel.
 Once this has been done, we select all then copy it, or cmd+A, cmd+C
Now this is selected, we can go back to the layers, and make sure that the background is converted into a layer before pasting the yellow channel (cmd+V)
You should then have two layers; one with a normal colour, and the other with the yellow channel.


Wednesday, 9 December 2015

Portraiture - Lighting techniques

When you are taking portraits in the studio, you can change the way your photo is lighting. You can use either low key or high key light, with each creating different tones and a different mood in your piece. Here are some examples of Low key and high key lighting, respectively.


Low key lighting can create a sense of strength, due to lots of strong dark tones being presented. These tones can suggest masculinity and also suggest mystery, as a lot of the subject is obscured in darkness. If you use low key lighting in your photo, the photo will create an overall dark mood. 

However, High key lighting can create a sense of peace, due to emphasis of light tones. It can sometimes have connotations of femininity, as shown in the image above. High key lighting creates a sense of happiness, as he image is light in colour, and has few dark tones.

There are several pieces of equipment you can use to change the way the light works. 
One of these is a Snoot. 
A snoot is put on the end of a spotlight, and it makes the lighting beam smaller, so that you can light up a smaller area with your spotlight. This can be used for selective, low key lighting, e.g. lighting up one side of somebody's face. You can also use a honeycomb grid with a snoot.